Self-Portrait Inspired by Frida Kahlo
Step 1: Say Hello to Frida!

A portrait is a picture of somebody’s face. A self-portrait is a picture of your own face. Say “Hello!” to Frida Kahlo, who painted a lot of self-portraits during her life. If you’d like to see one of Frida’s original paintings, click on the drawing to the left.
What do you see in Frida’s self-portrait?
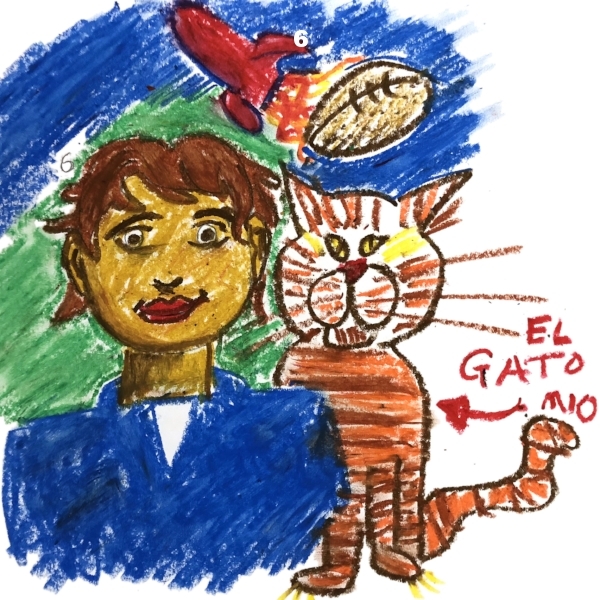
You might notice a lot of bright colors. You might notice that she filled up her canvas from edge to edge. You might also notice that Frida included many of the the things she loved in her self-portraits, like her many pets (she owned cats, parrots, and even spider monkeys), and the plants and insects from her beloved garden.
What are some of your favorite things?
Fill up the area around your face with some of the things you love. You could include your best friend or a member of your family. You could include your own pets, or favorite things you see around your room. You could choose sporting equipment, or toys. Or you might fill up your self-portrait with things from your imagination, like unicorns, space ships, or dinosaurs. It’s your self-portrait, so add anything you want.
Step 2: What You’ll Need
You may already have many of these things on hand. If not you can pick them at your local drugstore, toy store, or craft store. You shouldn’t have to spend more than twenty bucks.

Oil Pastels cover large areas and can be blended
A mirror (preferably one that stands on its own or you can prop up on a table)
Oil pastels or Markers (Alternately, colored pencils or crayons can be used or even office supplies)
Construction paper, brown craft paper, a cut up paper bag, or even printer paper
Number 2 Pencil
An eraser
Paper towels
Print outs of Frida Kahlo’s self portraits for inspiration and discussion
Step 3: A Bit of Technique
Before you get started on your self-portrait, take some time to get to know your materials. Set a timer for ten minutes and try to fill up a sheet of scrap paper with as many different marks as you can think up. If you are working with others, and you see somebody doing something interesting with their drawing, go ahead and try it yourself. Artists often borrow techniques from other artists. This is not the same as stealing; in fact, many art students will copy famous paintings as a way of learning the techniques of the masters.

Pastel Techniques
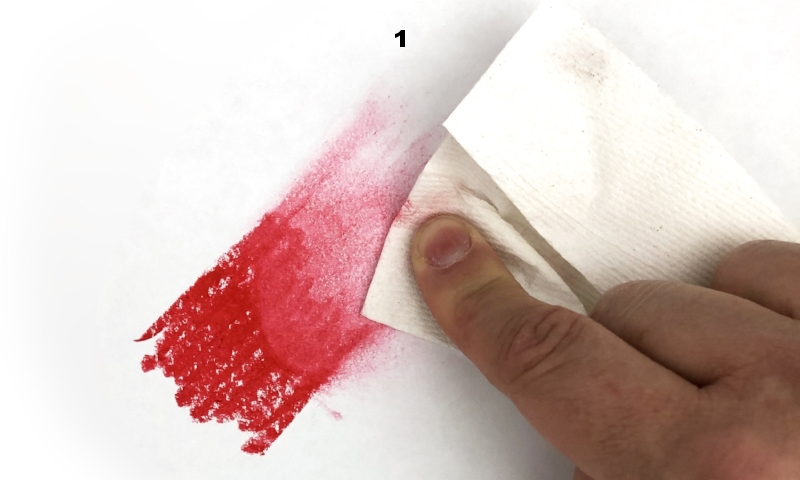
1. Smudge pastels with a paper towel to cover the paper better or create lighter shades.
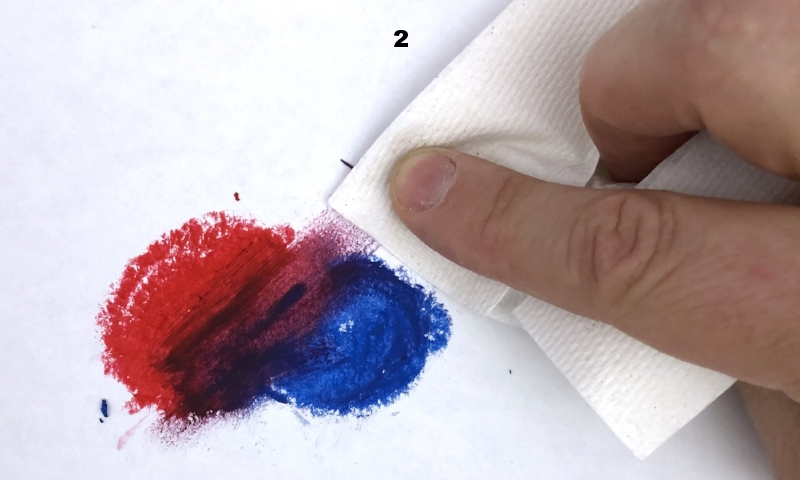
2. Blend two or more colors together by smudging with a paper towel or your finger tips.
3. Create patterns by drawing over one color with one or more different colors.
Marker Techniques
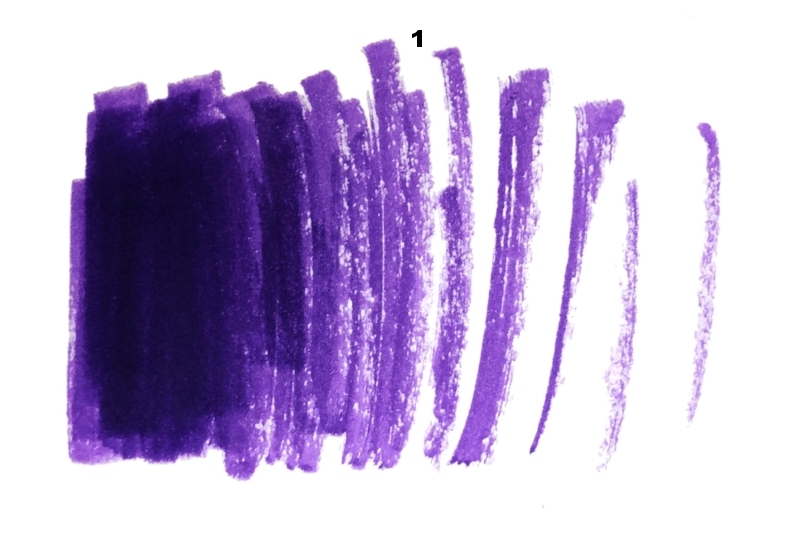
Create shades of a single color by layering heavy marks to make darker tones or using light strokes to let the paper show through to create lighter tones.
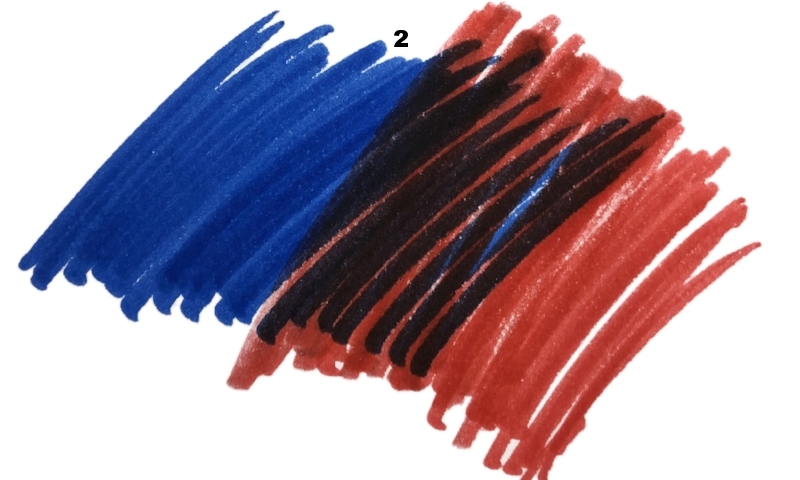
Blend different colors by layering one or more on top of each other.
Experiment with patterns.
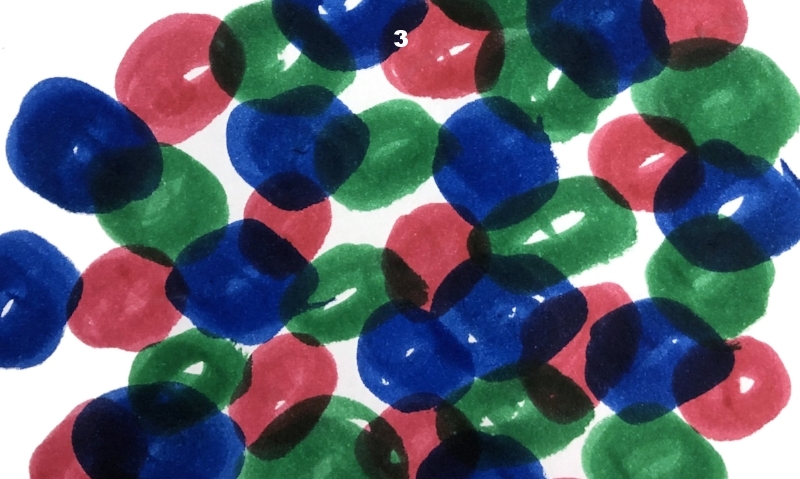
Step 4: A Bit of ANATOMY
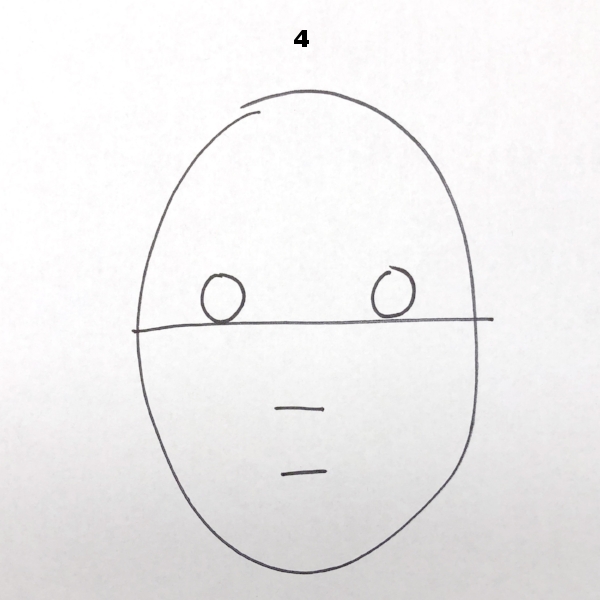
Where do your eyes and nose and mouth go?
Draw an oval in pencil. (Don’t worry if it’s not perfect!)
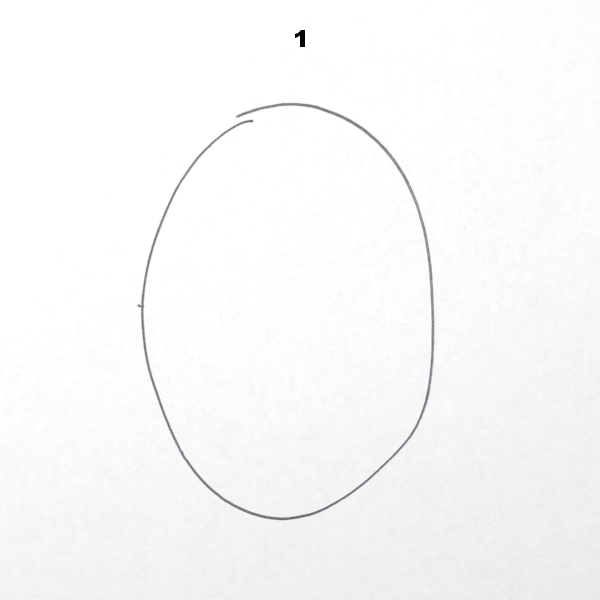
Draw a horizontal line across the midpoint of the oval. You will erase this later.
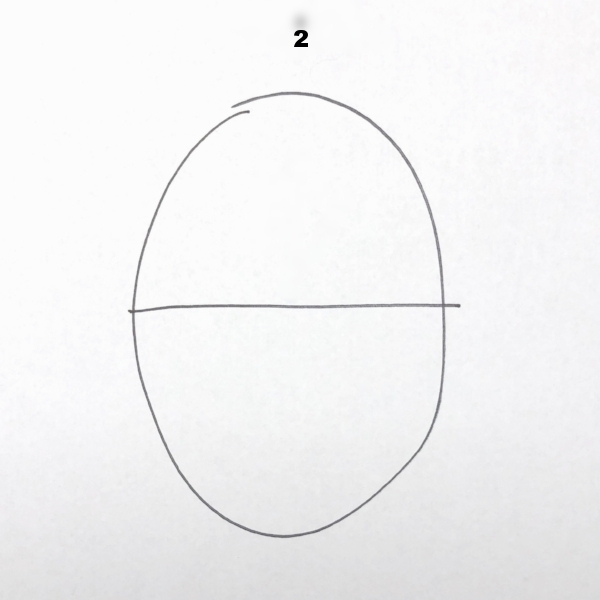
Place two small circles so they sit on the horizontal line. Your eyeball are just about in the middle of your face.
Draw two short lines about one third and two thirds of the way down below the horizontal line. One line marks the bottom of your nose; the other marks the position of your mouth.
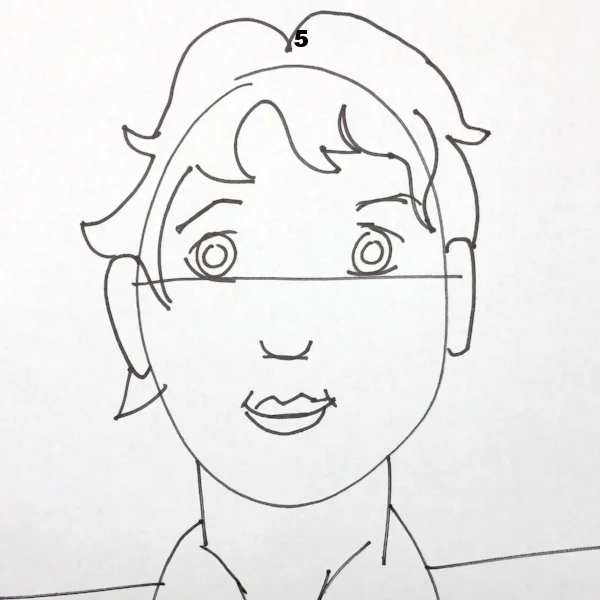
Add details to your drawing, such as hair, eyebrows, lips, ears. Erase the line across the middle of your face and any other stray lines.
Color your drawing. Surround your self-portrait with images of things you love or stuff that is important to you.
Step 5: Share Your Self-Portrait!
Please share your art with us by attaching it to an email to programs@creativeartworks.org. If you don’t mind, please include your name and age.