Make Prints with Foam Plates
Family Engagement

As part of our work with schools, we often invite parents to enter more deeply into the learning environment through Family Engagement workshops. These weekend and evening events allow parents to explore art-making firsthand – to experience the curiosity, creativity, and even joy inherent in the process, and to witness it in their children. The benefits of a seemingly simple family interaction have positive impact on students’ academic experience and also reverberate beyond the school day and school walls.

Making art is a vital human activity because it touches on so many aspects of our lives. It is a social, intellectual, and spiritual experience. We obviously can't send a CAW Teaching Artist to your home to lead a Family Engagement workshop, but we can do the next best thing. Below are instructions to a simplified project from our middle school printmaking curriculum that you can do at home with your kids.
MAKE YOUR OWN FOAM PLATE PRINTS
The great thing about this project is that you can take the basic idea and run with it. You can create your own greeting cards, gift boxes, or wrapping paper, ornaments, stick puppets, mobiles, even cake decorations.
Materials
You do not need special paper for this project. You can print on just about any flat surface that will absorb paint or ink, including craft paper, construction paper, cardboard boxes, newspapers, tissue paper, fabric, etc. Non-glossy surfaces work best. Likewise, while you could purchase polystyrene sheets for this project, foam plates work fine.
The two things you will need to borrow or purchase are two rollers (called brayers), and at least one tube of printing ink. (You can do a whole lot with just one color!) Small tubes of Blick or Speedball water-soluble printing inks run from about $3.00 to $5.00 for small tubes and are available at art supply stores, craft stores or online. These inks wash off most surfaces with just some warm water and a bit of rubbing, so clean up is easy.
Improvise: Look around the house for something that you could use for a roller — maybe a rolling pin, a glass jar, or a plastic bottle with straight sides. If you have Crayola School Glue and some acrylic paint on hand, you can mix your own printing ink.

Try printing on construction paper, fabric, blank greeting cards, cardboard, or wrapping tissue.

Rollers (brayers), water-soluble block printing ink, foam sheets or foam plates

Masking tape, scissors, eraser, pencils, ball-point pens, paper towels for cleaning up
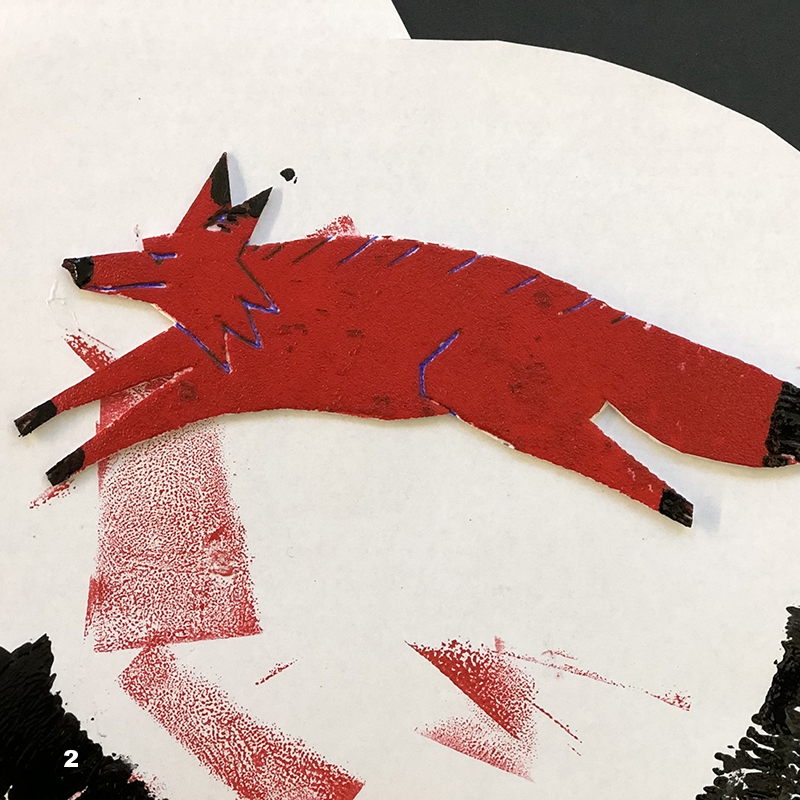
Sketch out your ideas And Etch your Plate
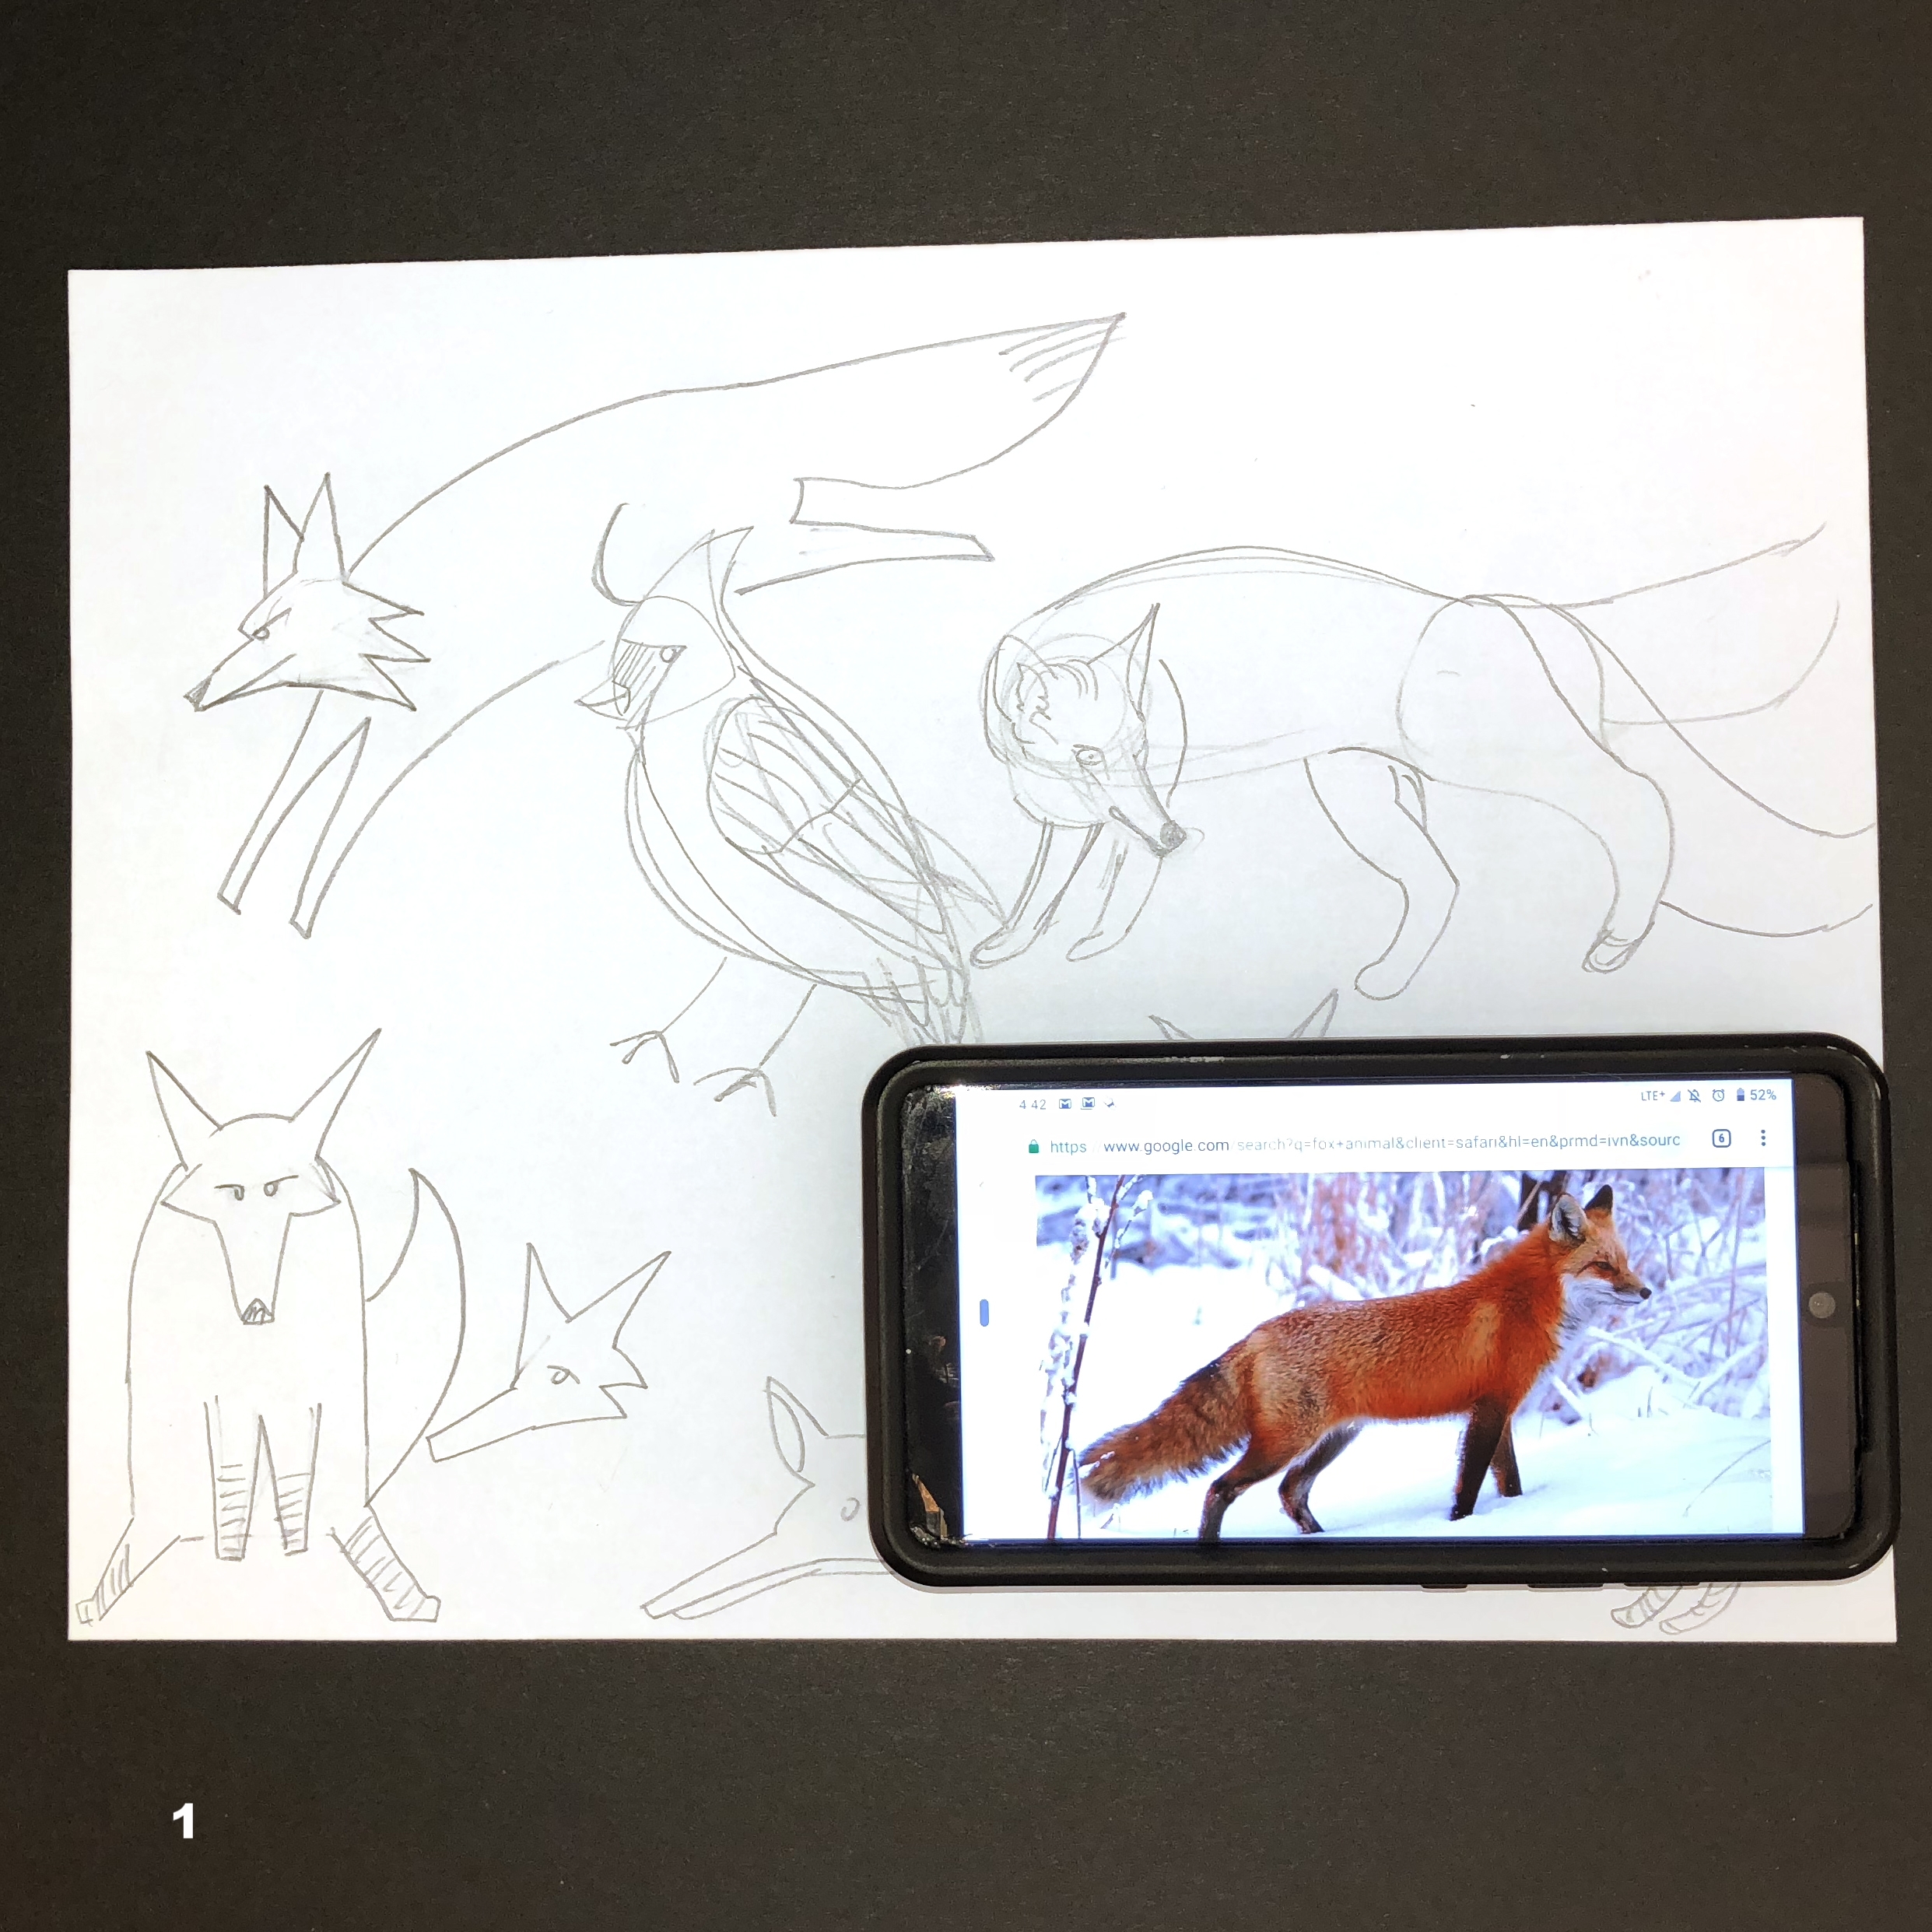
Before you begin, sketch out your ideas on a sheet of paper. Photo reference is always useful, but you really want to simplify your image and get it down to as few lines as possible. Simple shapes generally work more successfully than complex ones.
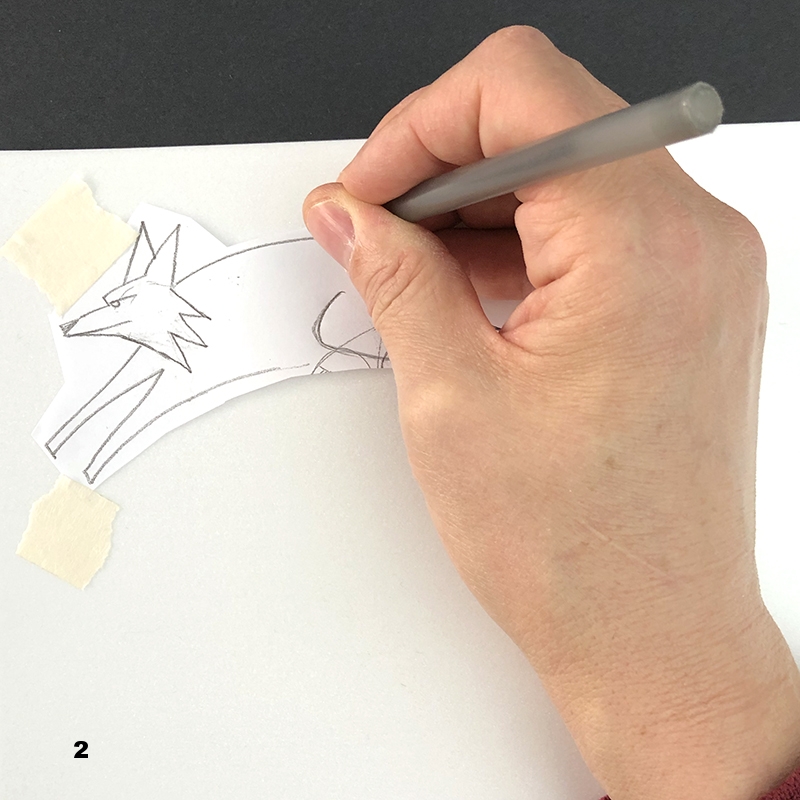
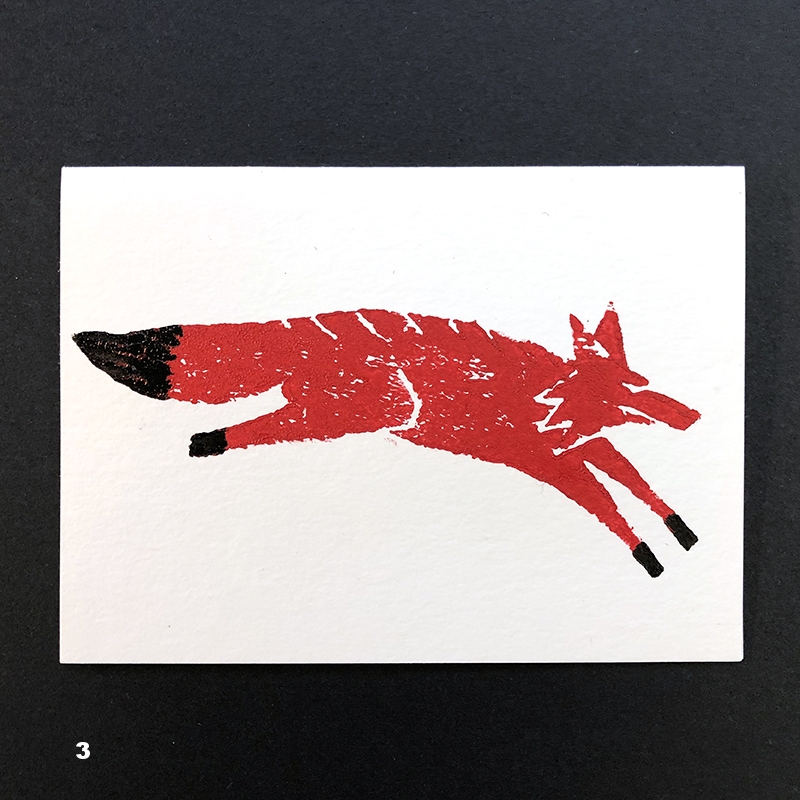
IMPORTANT: your plate will print the mirror image of your drawing. A lot of times this doesn’t matter, but if you are printing words, “RED FOX” will look like “XOF DER” unless you flip the letters before etching you plate. You can do this by writing your words in the correct direction, then place the front of your paper against a window and trace the words on the back of the page. Use these backwards letters to etch your foam plate.Tape your drawing to the foam plate and trace over it with a ballpoint pen, pressing hard to score lines into the foam. Alternately, you may draw free-hand directly onto the foam. The ink will not penetrate these marks when you roll out your ink, so you will get negative lines when you print.
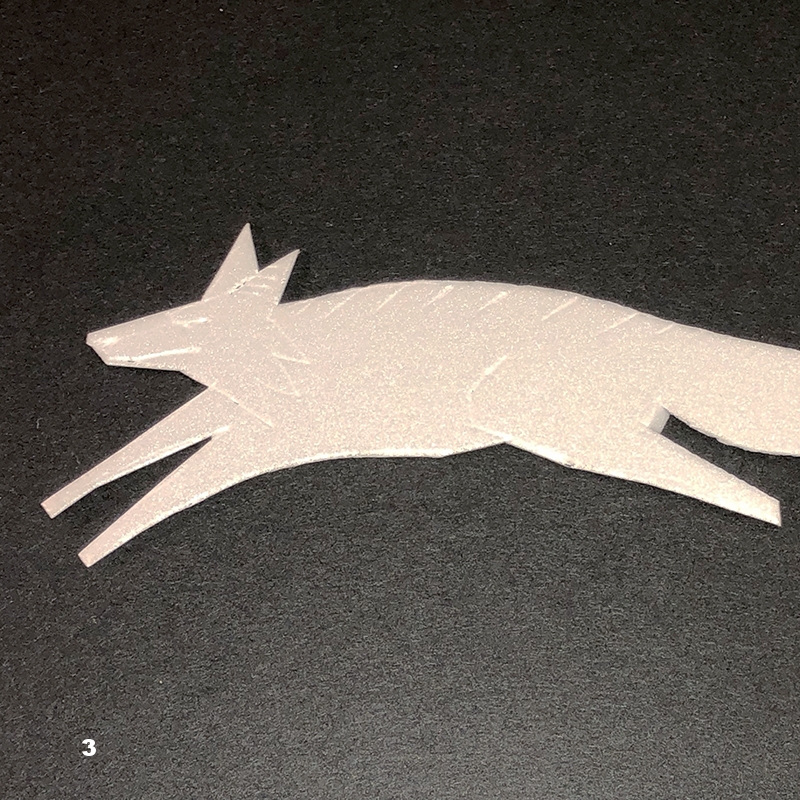
Remove the paper and go over any lines that are not deep enough with the ballpoint.
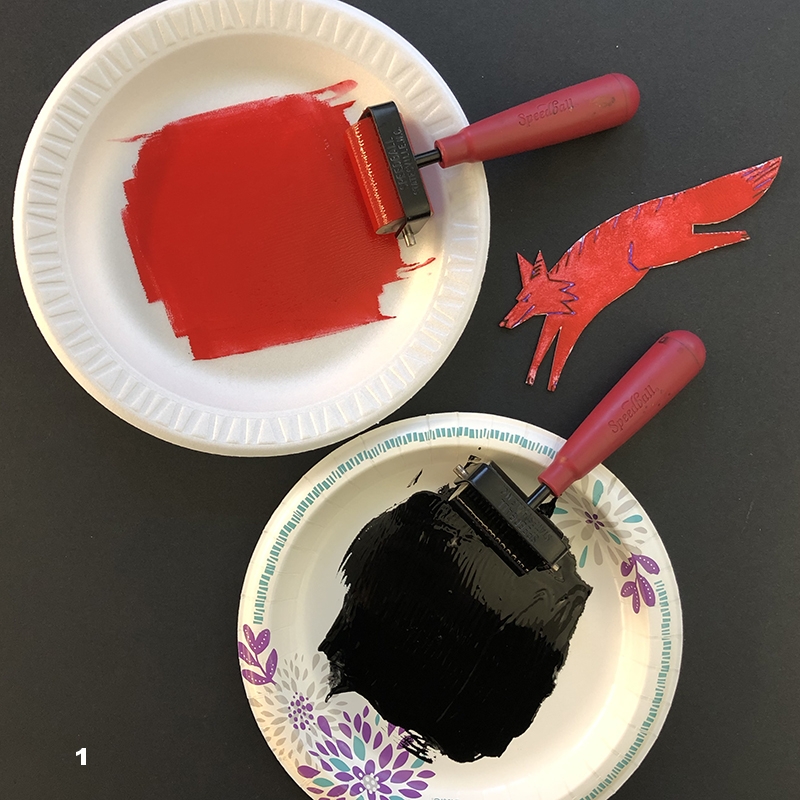
Roll out the Ink
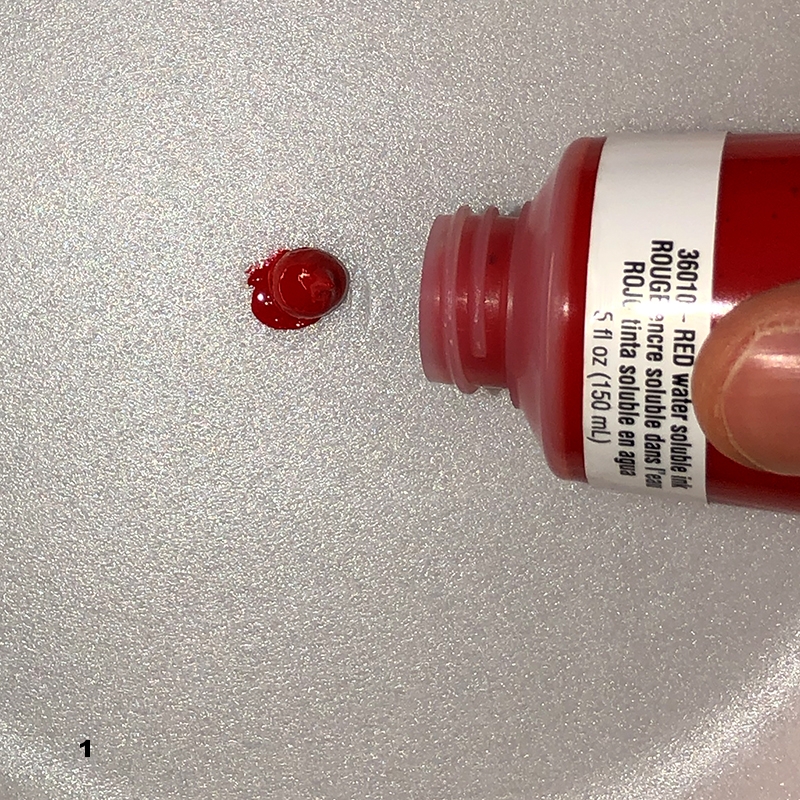

Squeeze out a pea-sized drop of ink. A little goes a long way.
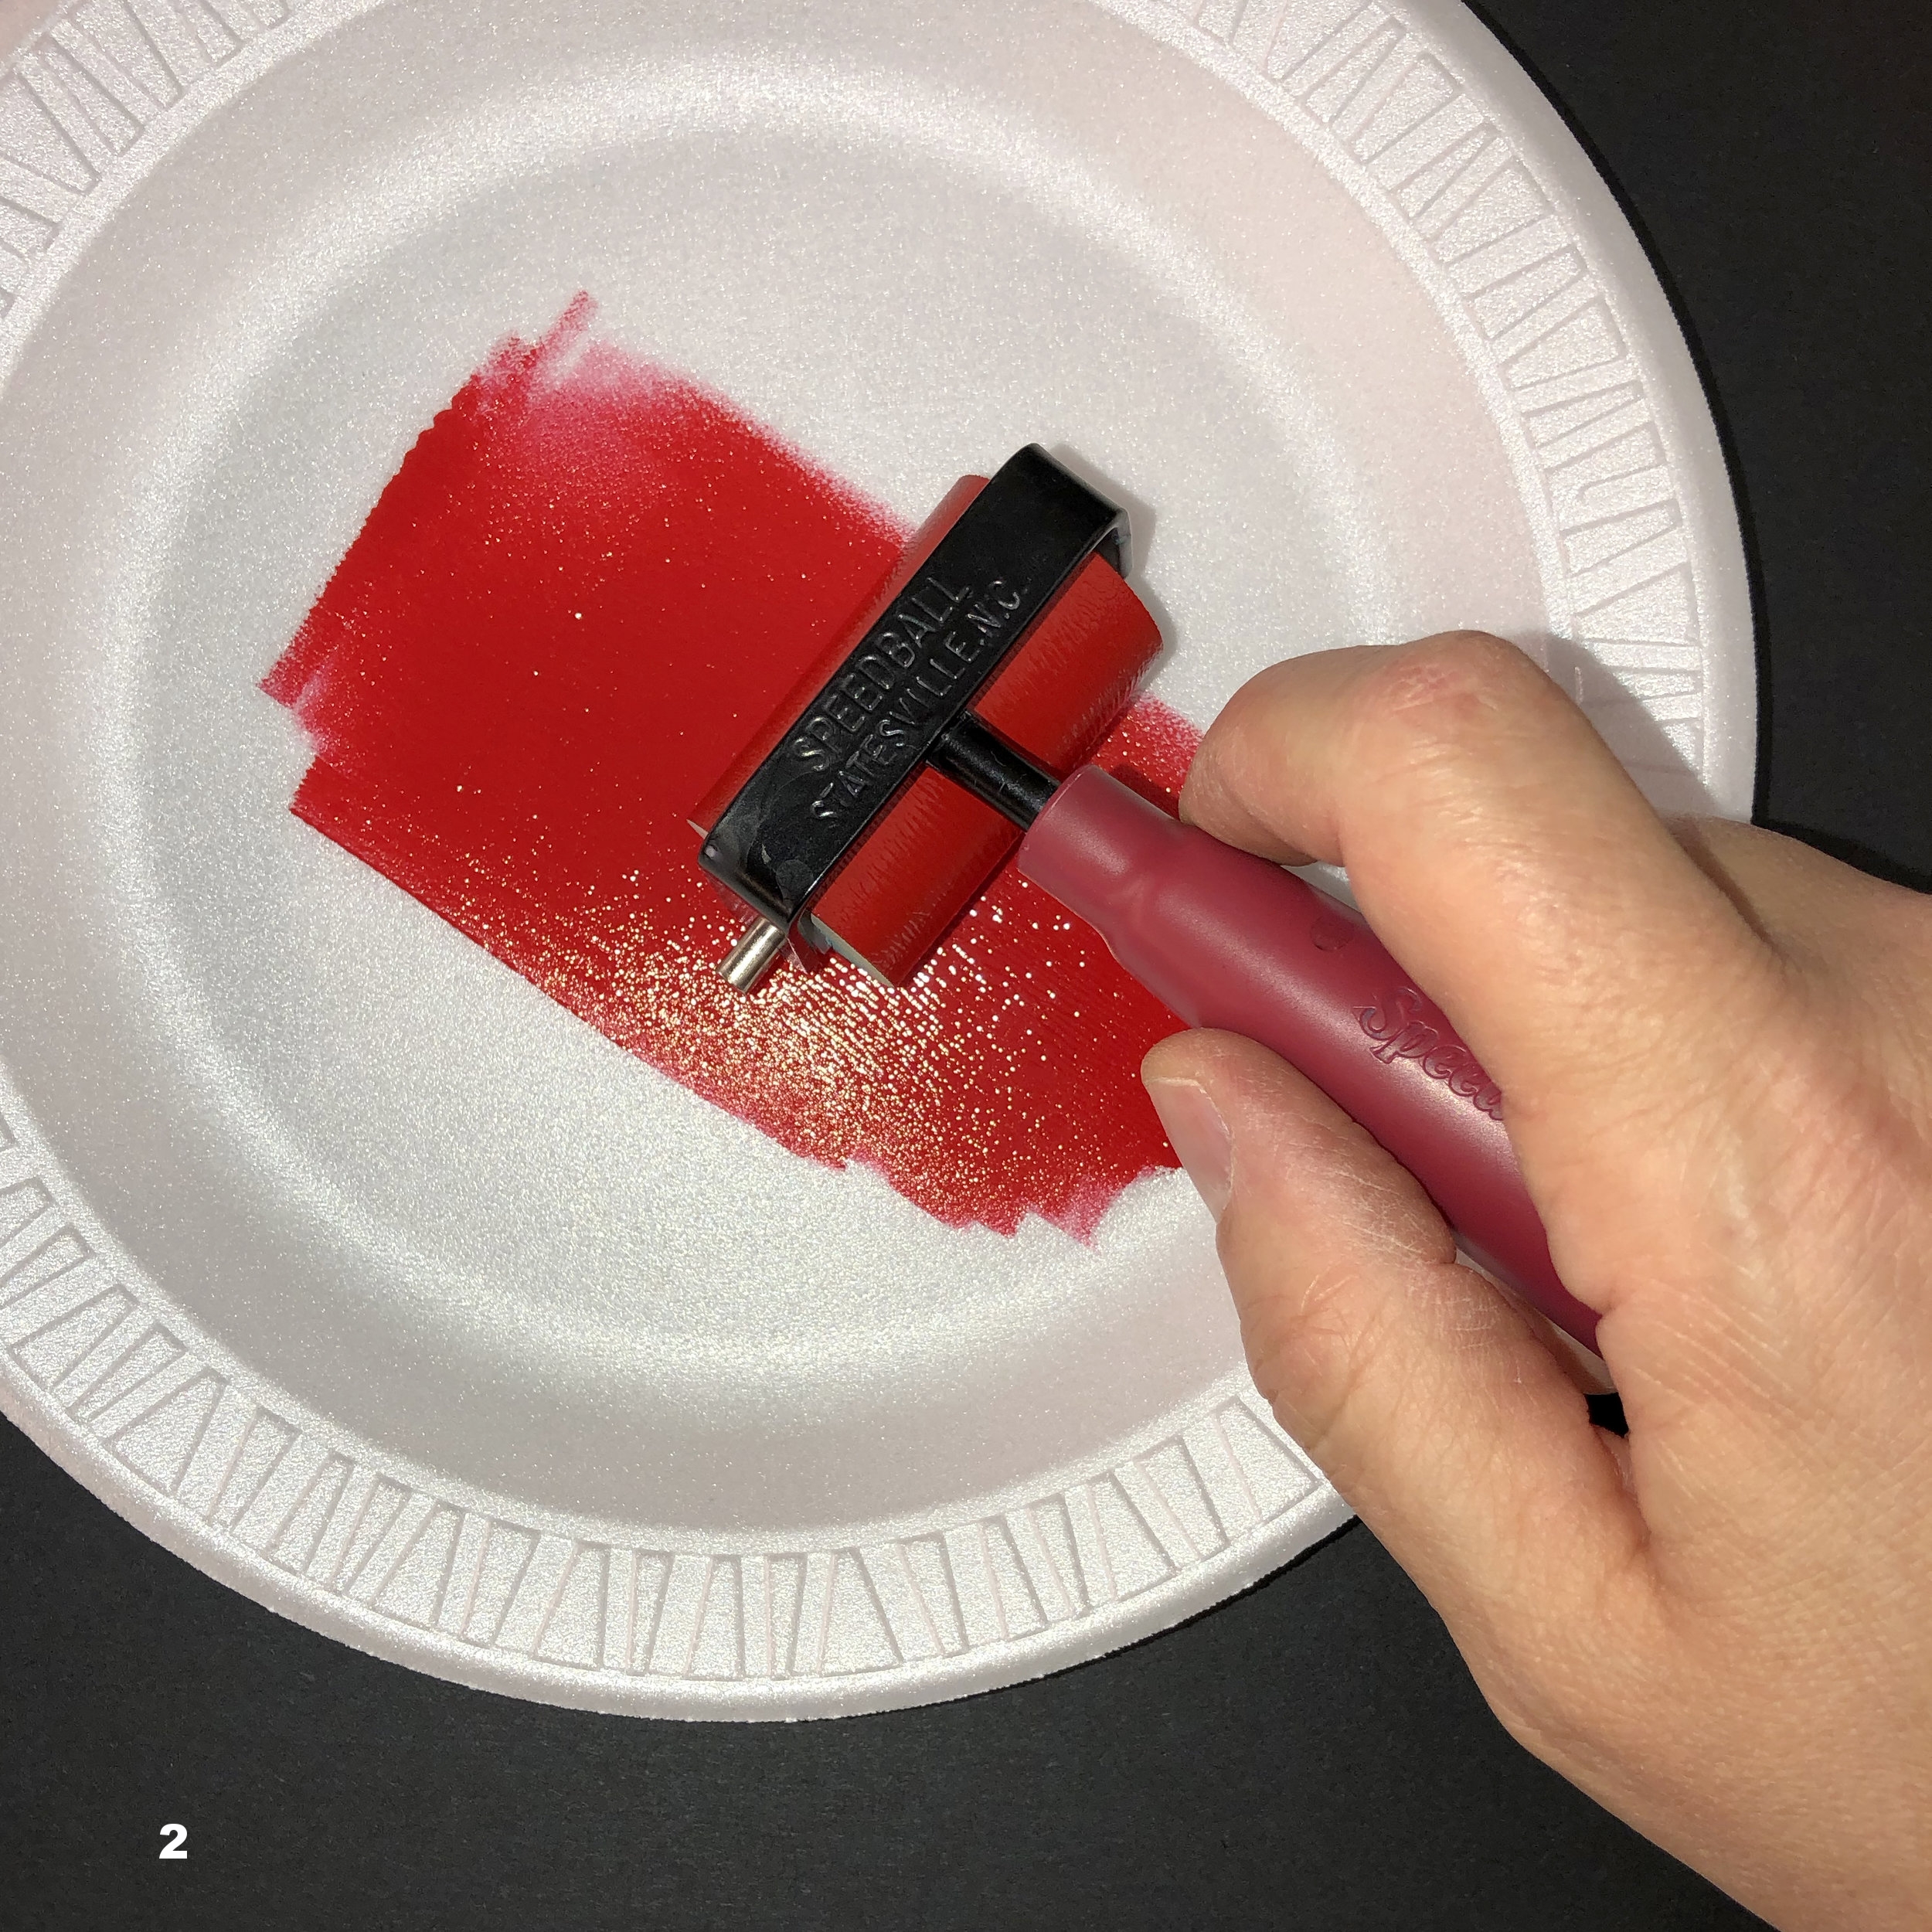
Roll out the ink on a foam plate until you get an even and consistent amount all over the roller. After a bit of rolling, if the ink isn’t even, on the plate, then it’s not even on the roller. Move the plate around and keep rolling until the ink on the plate is evenly spread.
Roll the ink onto your block. Try and lay down an even layer. If you are seeing stripes, pick up the roller and move it slightly until you get even coverage.
print Your PLATE
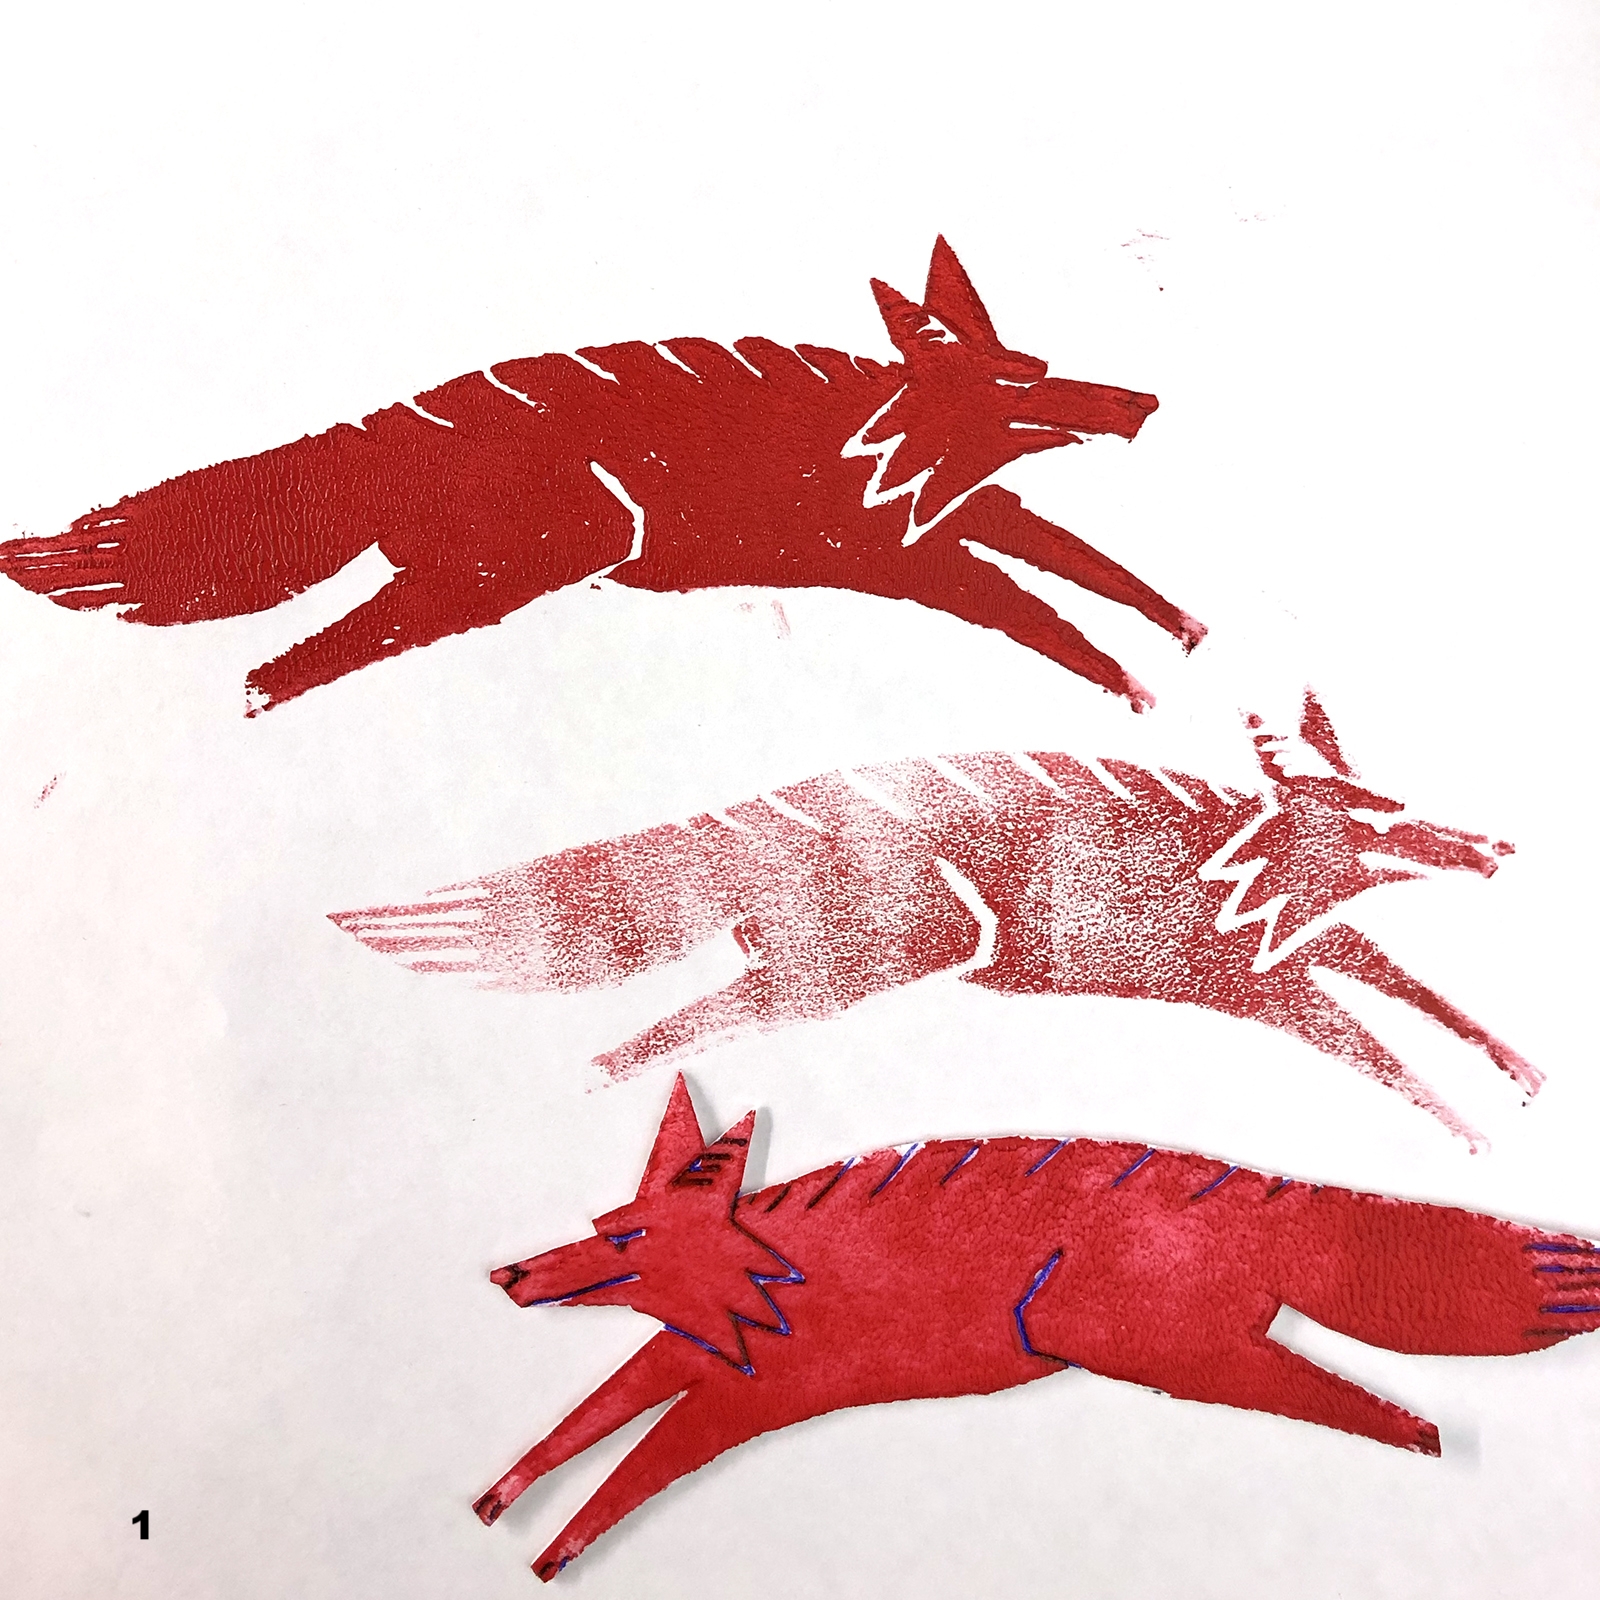

You will need a few tries to figure out when you have just the right amount of ink on your block, so print your first few pulls onto a piece of scrap paper. Even experienced printers know that their first few prints will be either too light or two dark — that’s okay. You will have a lot of chances to make prints that are just right.
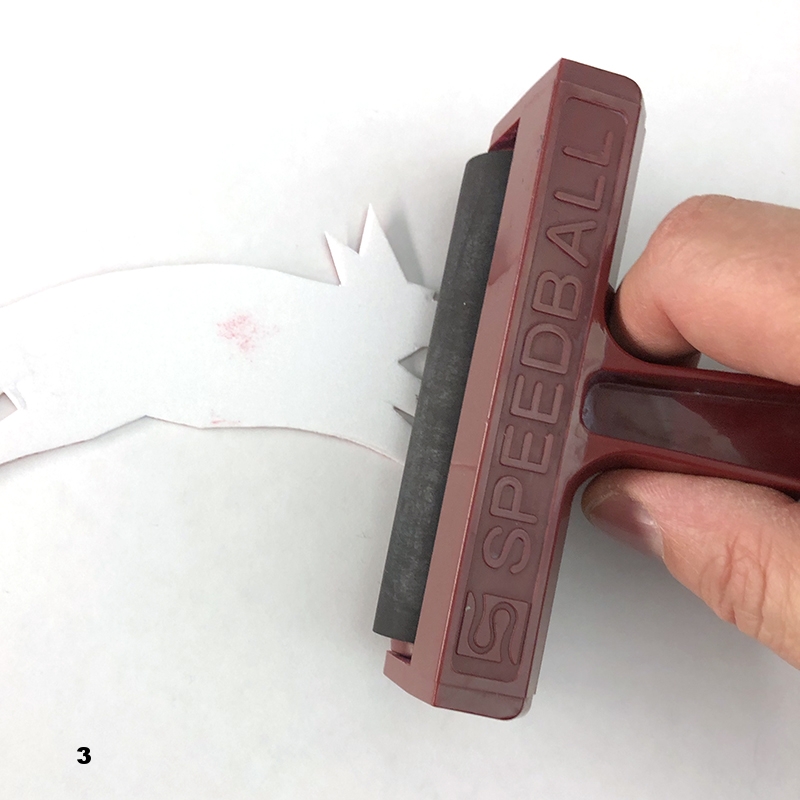
Carefully place the plate where you want it on the paper.
Gently roll over the block with a clean brayer, exerting even pressure. Then carefully lift up the block to reveal your print.
Add Embellishments and Other tricks
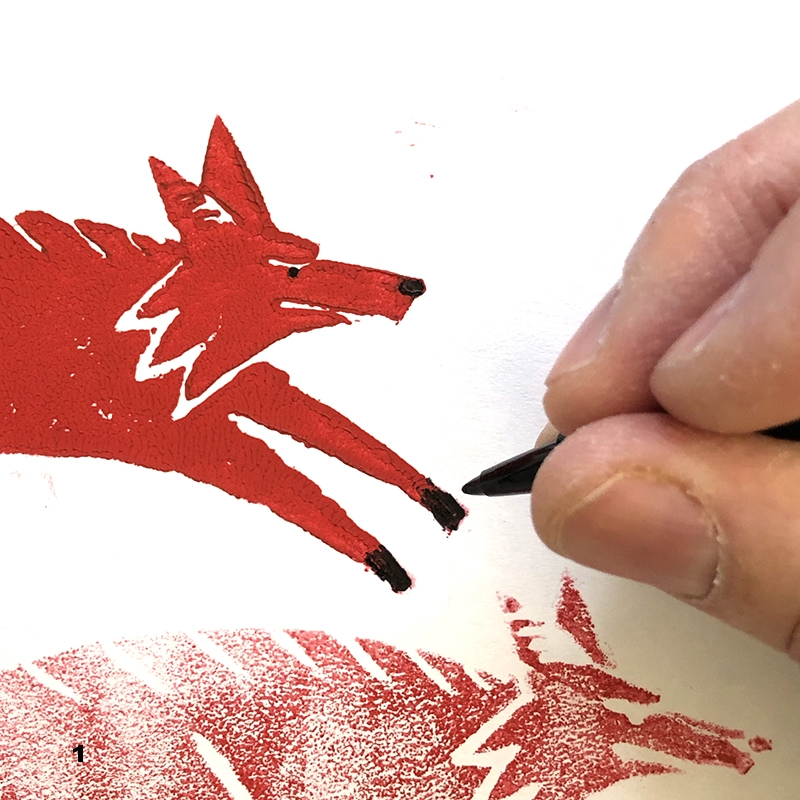

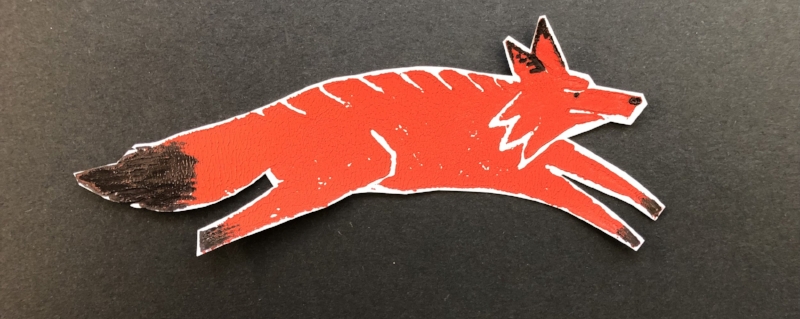
Once your print is dry, you can add embellishments with pens, cray pas, paint, glitter, stickers, whatever turns you on.
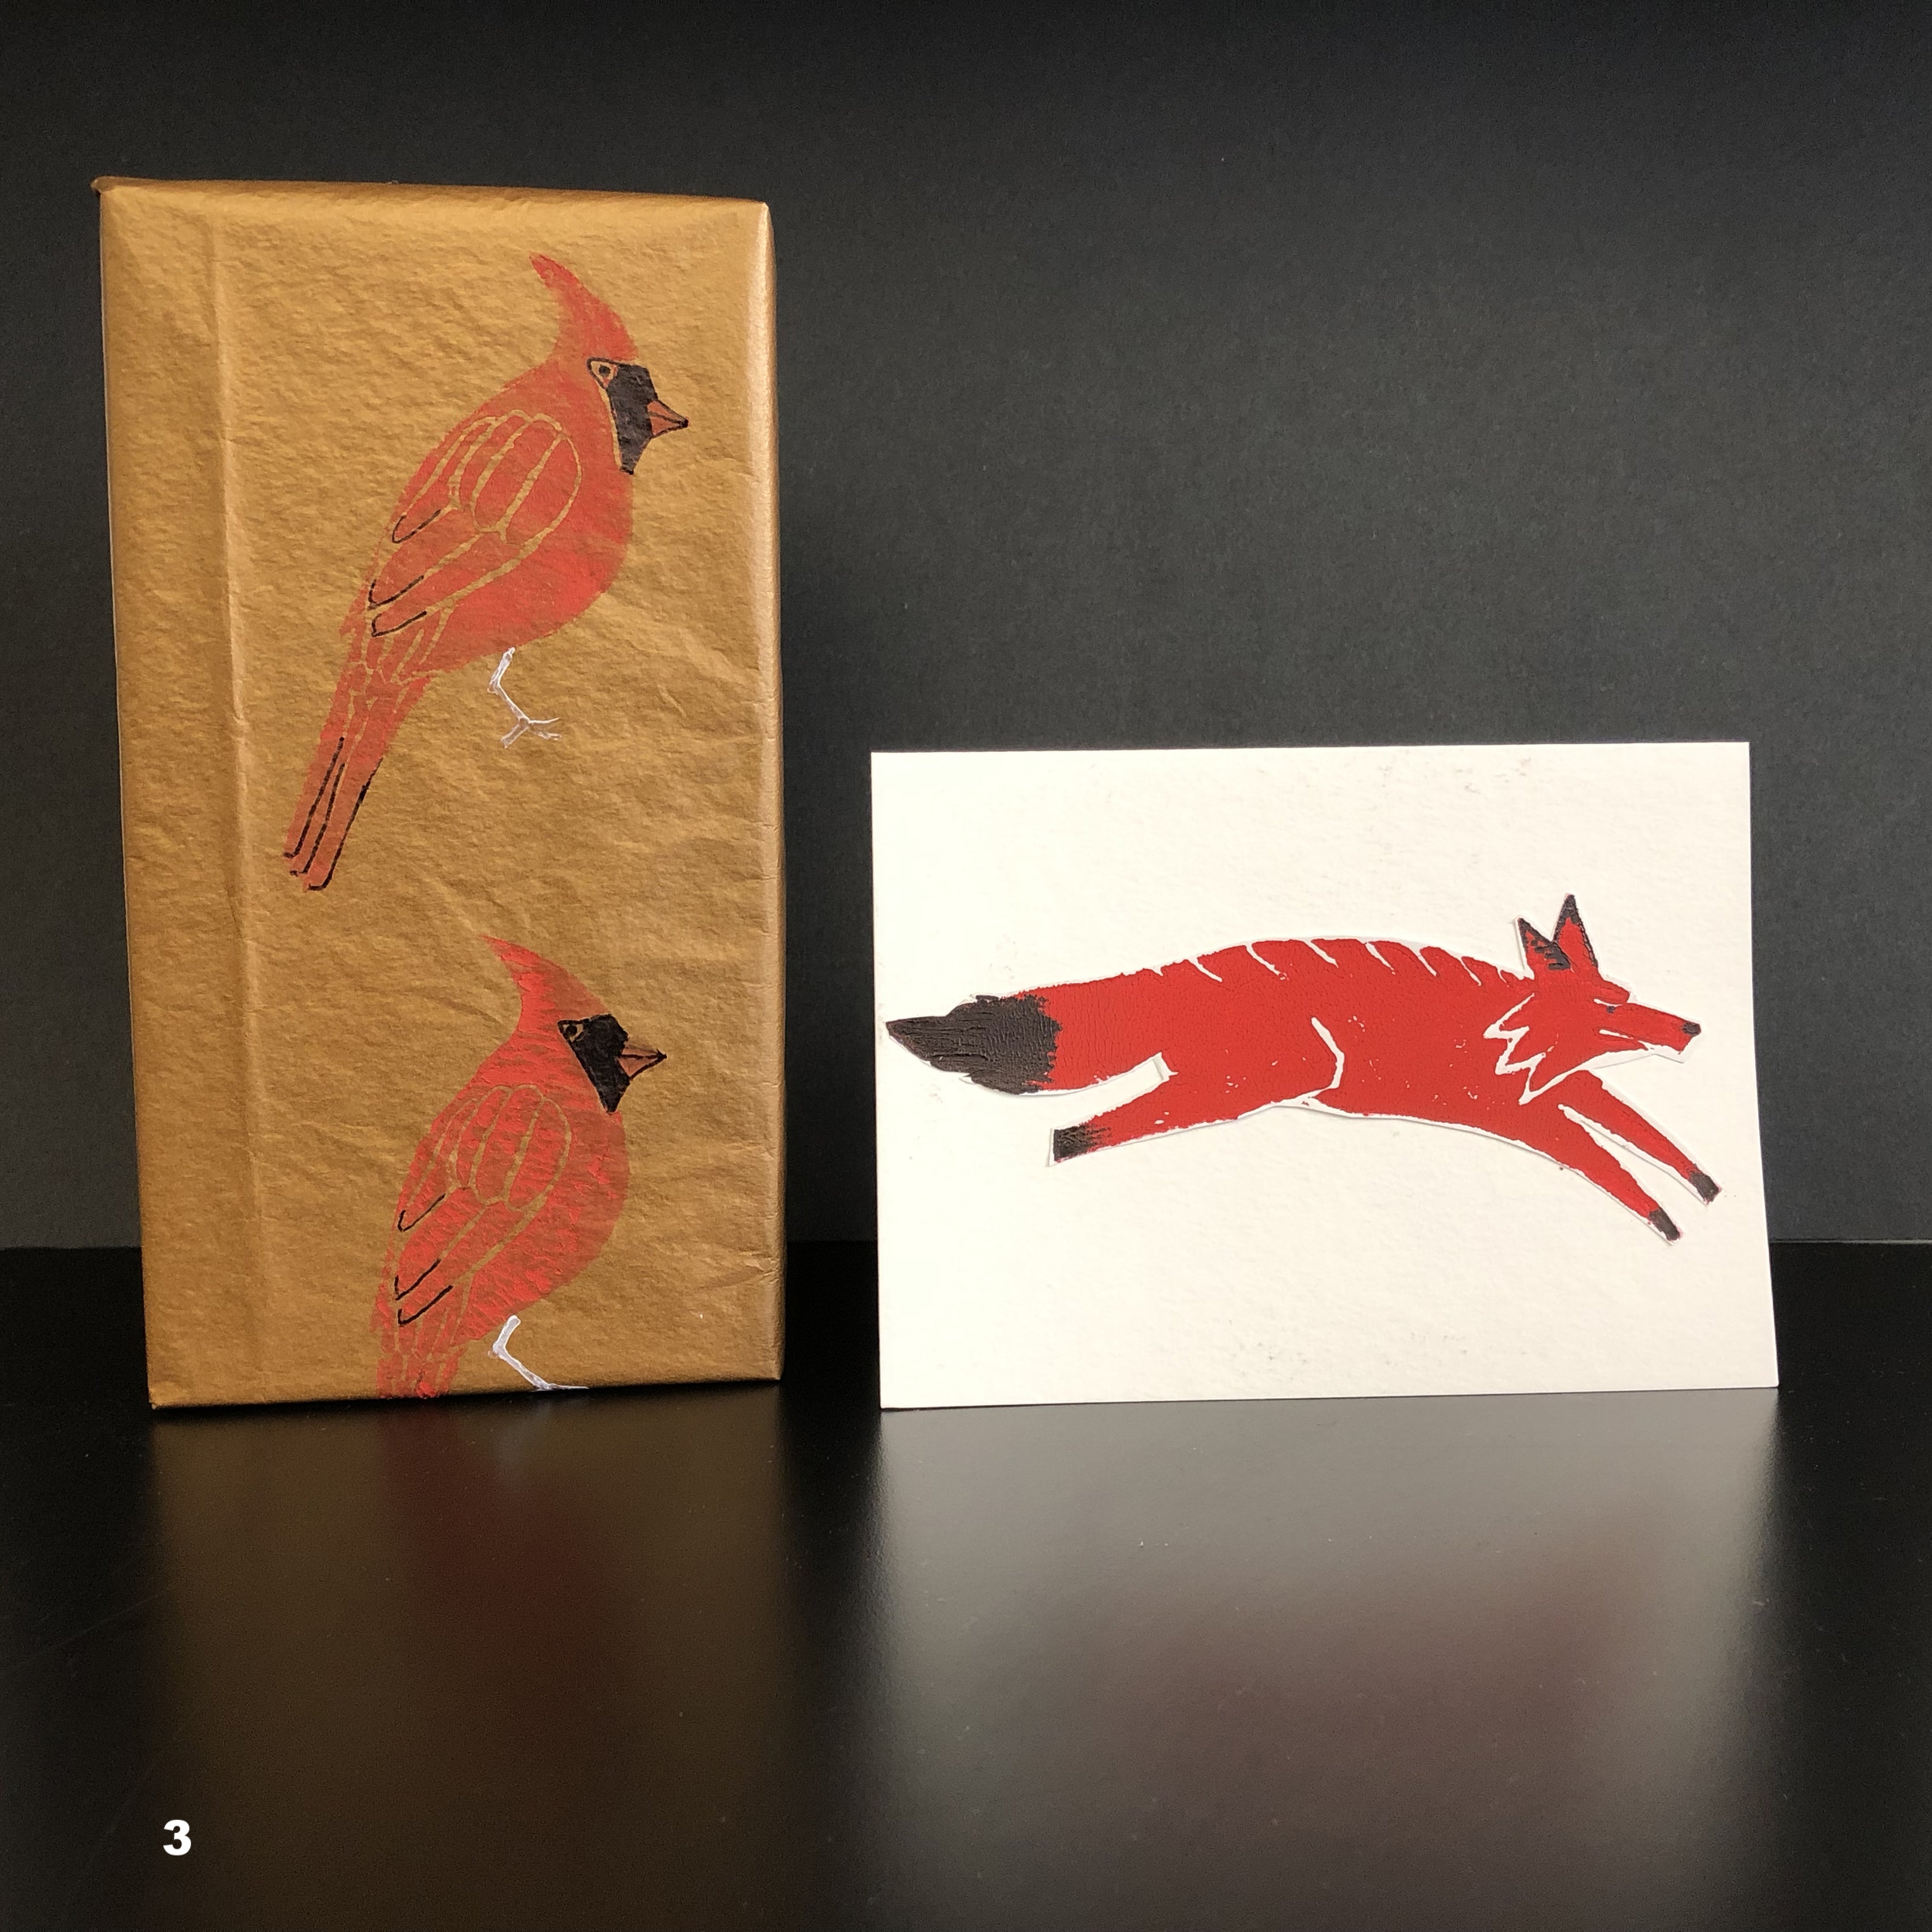
Maybe one of your test prints came out beautifully. You could cut it out and glue or tape it onto another piece of paper.
Try printing on wrapping paper, blank cards, cardboard boxes, etc. You can make your own greeting cards by folding a piece of paper in half. Experiment with different types or colors of paper.
Pro Tips: Printing Two Colors on One Plate
Once you get the hang of printing one color, you might want to experiment with printing two colors on a single plate.
Roll out your two colors on separate plates.
Apply the the lighter color first. Try blending the edges with your fingers or a pencil eraser.
Make any corrections, additions or embellishments you’d like. Let it dry overnight. That’s it!